
Tips, Techniques And Methods From Our Members.
Turning
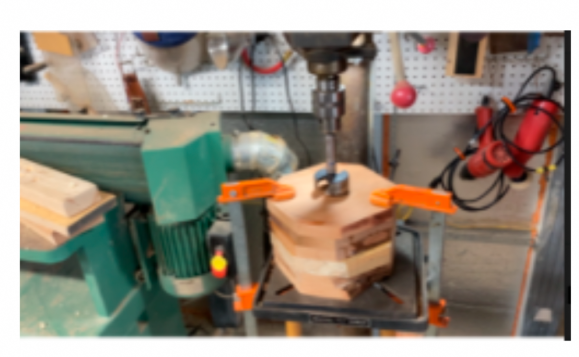
Group Discussion — Effective Ways To Bore End Grain
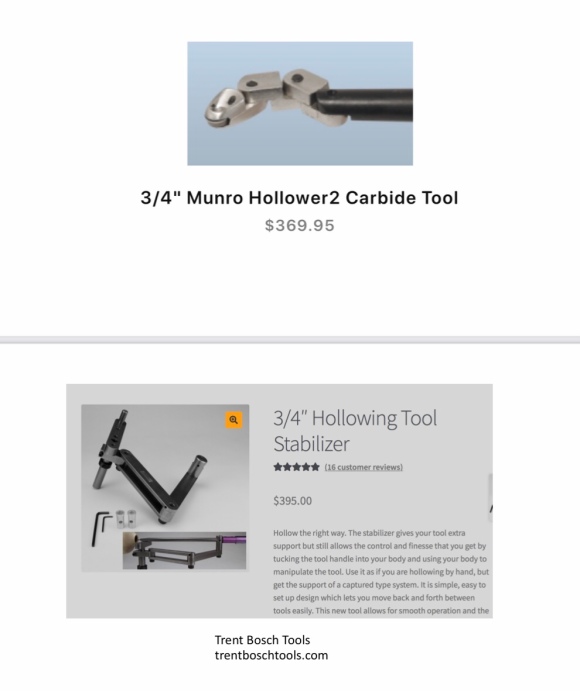
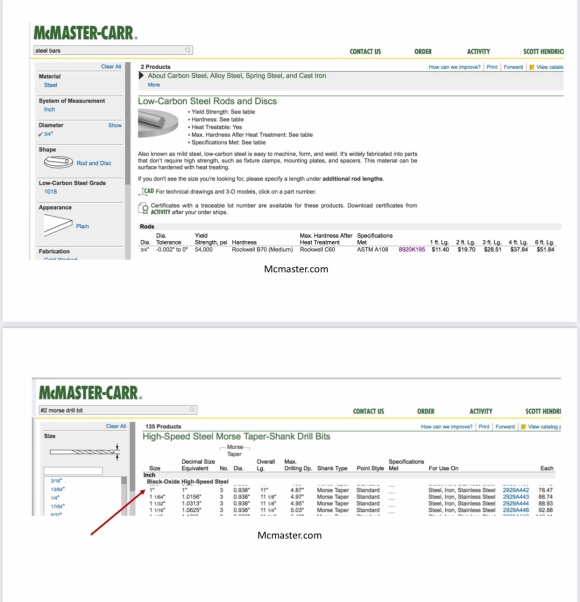
Techniques included boring a hole—either as a starter or at the desired diameter—with an forstner bit; using a spindle gouge; using a “ring tool,” “Oneway Termite,” or “hook tool”; using a scraper; or employing a dedicated hollowing system, such as the Trent Bosch Stabilizer
####################
Turning a sphere using the shadow method — Carl Beaulieu

Turning a sphere using a shadow was demonstrated on a live internet web demonstration by Theo Haralampou and sponsored by Record Power Ltd, Woodworking Machinery and Accessories. This paper describes my interpretation of what I understood from Theo’s demo.
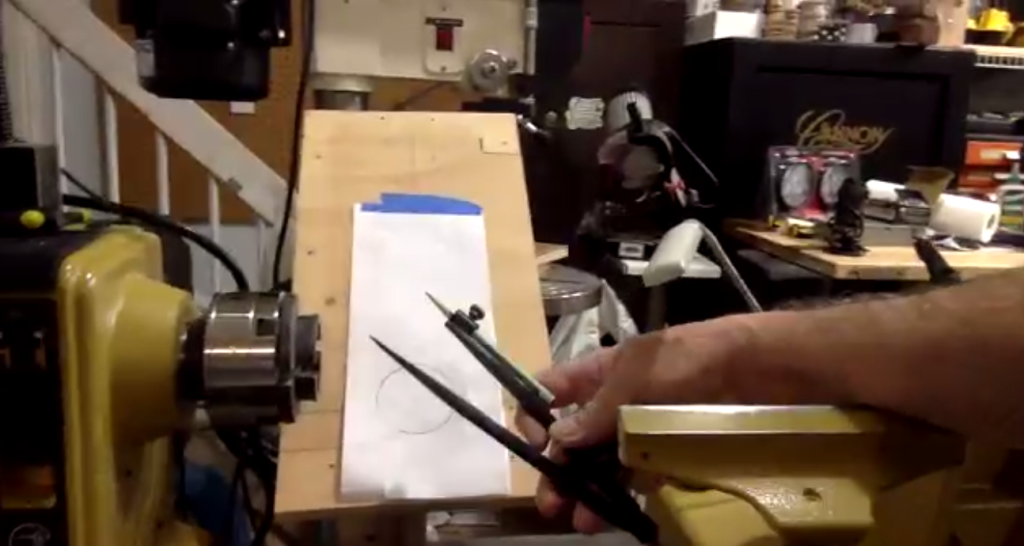
1. The idea is to cast the shadow of a piece of wood turning between centers in the lathe onto a sheet of paper held in place behind the wood being turned turned. The wood is cut using spindle gouges to match the turned wood piece to a drawn circle shape. I accomplished this task as described in the following steps
2. A board is needed to hold the paper with the drawn sphere in place behind the lathe centers. A rectangular flat surface a few inches wider than the largest desired sphere and long enough to be mounted to the lathe at approximately a 45 degree angle works well. The exact angle is not critical because adjustments to align a light source to be perpendicular to the flat surface is easily done. I set this board away from the lathe center far enough to allow room for the largest diameter sphere I might turn. The mounting of this board to the lathe can be accomplished by using lathe bed opening or a clamp to the rear casting. I made a fixture which clamps to the lathe casting and rests on the lathe bed to establish the location of the board in the three-axis perpendicular and parallel to the lathe bed and angled 45 degrees to the lathe bed surface plane.

3. Casting a sharp clean shadow requires a distant bright single point light source. A single bright LED bulb works well. The light source must be mounted far from the board with the drawn circle and it must be set to point directly at the lathe turning center line and the center line of the sphere. I set the light source on a tripod and elevated the light about 7 feet above the floor. I used a 4-foot sheet rock panel square to establish a line that went from the center of the drawn sphere through the lathe turning center to the center of the light source. The alignment is easily checked by looking at a shadow cast by a pointed live center and seeing it aligns with the sphere center line on the paper. If there is a difference simply move the paper slightly. I used a wood working square to align the sphere center line with the lathe bed/turning center line.

4. The paper has a circle drawn to clearly show the outer diameter and center line for the desired sphere size (sphere diameter and center line). Turning the block of wood between centers and looking at the cast shadow as cutting progresses the shape of the wood turning larger than the drawn circle will become apparent. I found as I approached the desired sphere size and shape I used a more detailed cutting gouge and I looked at the top section of the shadow to the right or left side of the sphere to match the shadow to the sphere drawing. I did not look at the cutting gouge on the wood sphere but used the slight changes in the shadow to bring the sphere to final shape. Happy Turning.


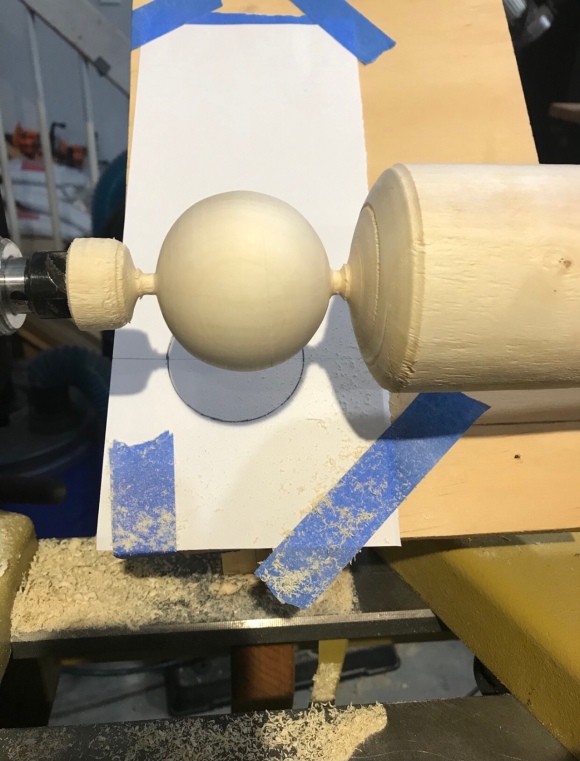
5. Comment: I happened to move the light source a few inches after I began turning and as I approached the desired sphere diameter, I could see the shadow of the turned piece was not centered on the drawn sphere. I corrected the problem by moving the paper with the drawn sphere to align the shadow and drawn sphere. No issue with the size of the sphere.
6. Comment: depending on the sharpness of the shadow image and the drawn sphere some judgement is required to select the edge of the drawn line and edge of the shadow to follow to produce the uniform final turning dimension. I did not experience any particular problem selecting the desired boundary edge. My target sphere dimension was 2.25 inches. The final measured sphere diameter was 2.23 inches.
7. Comment: The light source must be a single point of light at a distance from the turning. Light must be strong enough to cast a clear shadow. The item below was purchased from Amazon for $20.99 and worked very well.
LED Landscape Lights 10Watt 1000lm Flag Light Tree Lights with Plug Weatherproof Outdoor Decorations Lighting (10W, Warm white)

Sharpening
Sharpening Scrapers — Ed Nikles
Ed noted that he has had very good success sharpening scrapers “up-side-down,” that is to say, with what will be the top edge of the tool when used, facing down on the bench grinder tool rest when sharpening.
Decorative Effects
Spiral Pierced Vessel — Scott Hendricks


#####################
Rick Wortman Natural Edge Bowl Demo — 3/5/2022
#######################
Scott Hendricks — Review & Demo Of Munro Hollower

Video clip showing Munro Hollower in action:
#######################
Jim Cera Elliptical Box Demo — 4/2/2022
#######################
Patty Jenning Power Carving Demo — 5/7/2022
Finishing
Patty Jennings — Coloring With Acrylic Paint

Side grain box 8-1/2” x 7”.
I used acrylic craft paint

Black and red acrylic paint — 4 coats (to hide grain) brushed on and sanded between each coat. 4 coats clear polycrilic sanded between each coat
You’ll need a Brush with soft hair but not so soft that it is flopy. You only need to wait about 20 min between coats. It dries fast.
Also I painted it off the lathe but you could do it on the lathe if you want. You can use tube paint but you may have to thin it with water.
####################
Group Discussion — Finishes That Allow A Goblet To Be Used For Wine
The discussion included use of CA glue, polyurethane and leaving a goblet—especially and oak goblet—unfinished.
Measuring
Jim Cerra – “Caliphometer”
Here is another tip from Theo, the Record Power, demonstrator . He calls it a “caliphometer”. A one-foot ruler, calibrated in inches and millimeters, is attached to a piece of wood measuring approximately 13” x 1.5” x 1.5 inches. It facilitates setting your calipers to a specific opening size by holding the ruler in a fixed position. I added flat magnets to my version of the “tool” to add additional stability.

Efficiency
Jim Cerra – Sandpaper Holder
Here is a tip from Theo, the Record Power, demonstrator. A block of wood with angled cuts to hold sandpaper from grades 80 to 400. I weighted my version down with some flat metal glued to the bottom. Very handy when you are finish sanding a project.

####################
Sandpaper Storage — Ed Nikles
Ed uses discarded plastic restaurant food containers to store each grit of sandpaper separately.
